How to Start a Blog in 2025: The Complete Beginner’s Guide to Success
When I first searched for “How to start a blog,” I was overwhelmed with information. I watched a ton of YouTube videos and read a lot of blog posts… and I just felt lost.
There was so much information out there, but nowhere could I find a simple, step-by-step approach on how to start blogging.
One video talked about hosting and WordPress, another one about plugins, and another about SEO… It was all over the place.
I ended up spending 1-2 months just trying to figure out what exactly I needed to create a blog.
And today, I’m sharing this comprehensive beginner blogging guide, hoping to save you time, effort, and overwhelm.
Now, let’s see how to start blogging on WordPress.
How to Start a Blog: A Step-by-Step Guide
Step 1: Choose A Blog Niche
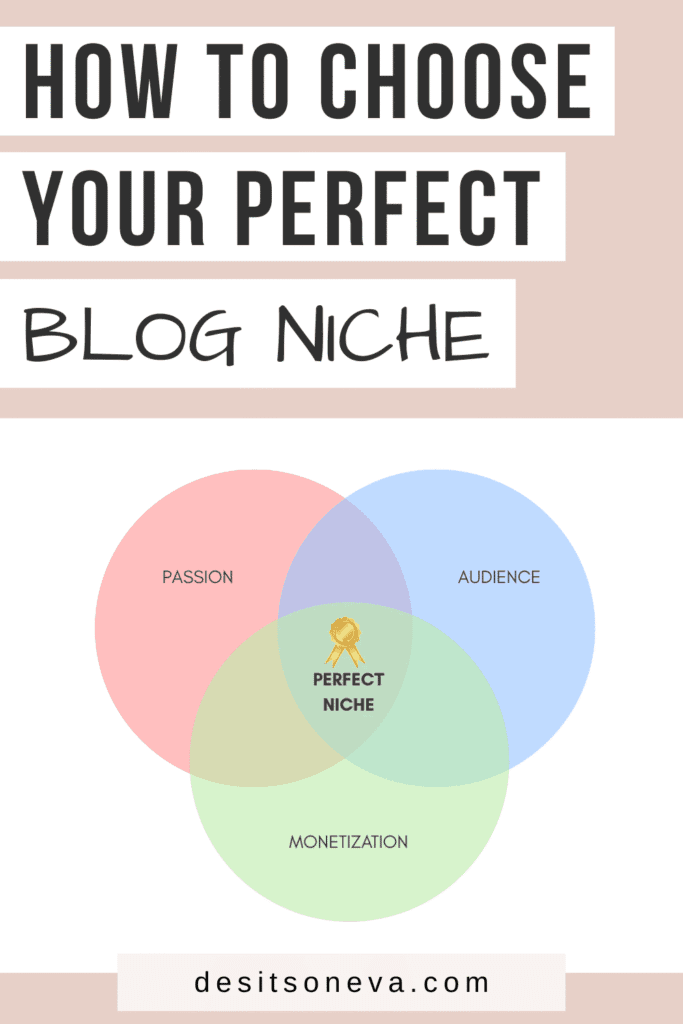
A blog niche is your main focus area—what you’ll write about. Instead of covering everything, you need to know how to choose a blog niche that will help people and drive success.
When learning how to start blogging, you need three things to work together:
- Passion – find something you actually care about.
- Audience – people interested in learning more about it.
- Monetization – ways to make money if that’s your goal.
Here are the most profitable blog niches this year:
- Personal finance
- Health and wellness
- Business & Technology
- Beauty
- Food
To choose your blog niche, start with yourself—what topics energize you?
Then do simple Google searches to see if people are asking questions about it.
Look at existing blogs (competition is good news—it means there’s demand), and join Facebook groups or Reddit communities to understand what problems people face.
You don’t have to write about these profitable blog niches if you are not interested in them.
I’ve seen people make great money in much smaller niches because they found their target audience and served them well.
Step 2: Select Your Blogging Platform
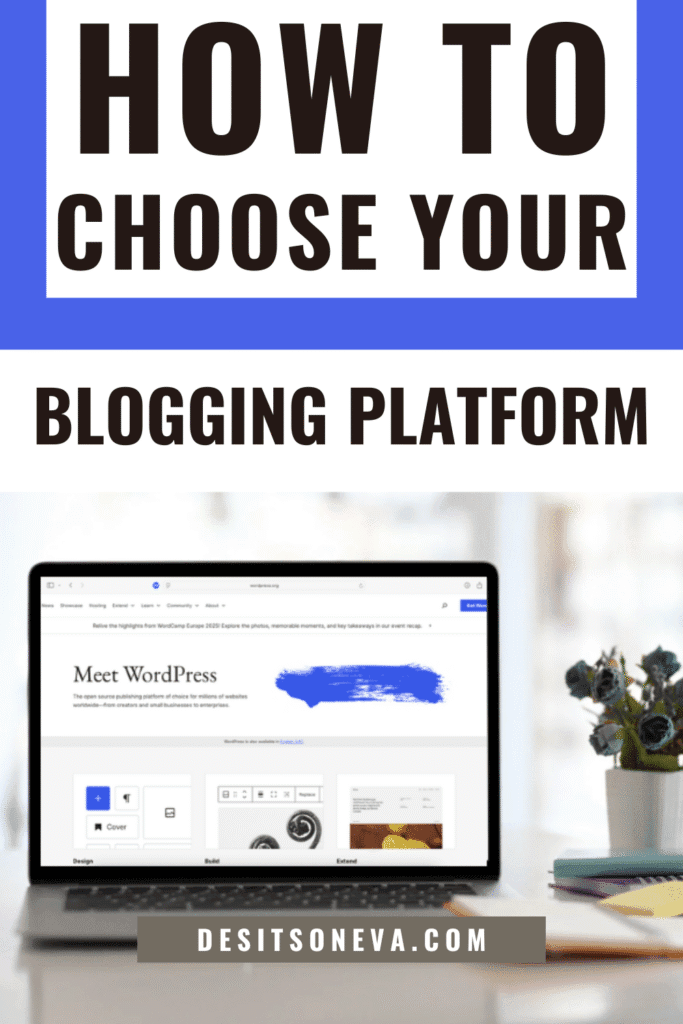
When you’re ready to create a blog, you’ll need to choose the best blogging platform for your needs.
Here are the best blogging platforms for beginners.
WordPress.org is what I currently use and recommend for long-term projects. You own everything and can customize it however you want. There’s a learning curve, but I didn’t know anything about this stuff when I started either.
WordPress.com is the easier option—WordPress handles the technical stuff for you. Great for blogging for beginners, but more limited.
Squarespace is less flexible but beautiful. It offers stunning, professional-looking blogs right out of the box.
Wix offers an intuitive drag-and-drop design, but it can become expensive.
You don’t need to pick the “perfect” blogging platform. Pick one that feels doable right now and start creating. You can always adjust as you learn.
Step 3: Choose Your Web Hosting Provider
If you choose WordPress.org, you’ll need a reliable hosting provider—space on the internet where your blog lives.
Hosting Types:
- Shared hosting ($2-10/month) – You share resources with other sites. Most beginners start here.
- VPS hosting – More dedicated resources, higher cost. Consider this if shared feels too slow.
- Dedicated hosting – The Entire server is yours. Most bloggers never need this.
- Cloud hosting – Spreads across multiple servers for better reliability.
Best Hosting Providers for Beginners:
- Hostinger ($2-4/month) – My go-to for beginners – they offer excellent support and use LiteSpeed technology (which results in great performance). I use this one, and I’m quite happy with it.
- Bluehost ($2.50-5/month) – That’s actually what WordPress recommends; it’s very easy to set up.
- SiteGround ($2.99/month) – They provide outstanding support.
- IONOS ($1/month) – They deliver good performance on a budget.
What to Look for in a Hosting Provider:
- Uptime guarantee – look for 99.9% uptime.
- Loading speed – provides a better experience for your readers, and remember that Google also considers speed as a ranking factor.
- Customer support – look for 24/7 support available through chat, phone, or email.
- Storage and bandwidth – most hosting plans include more than enough for new blogs, but it’s worth checking if there are any hidden limitations that might affect your expected traffic.
- Free SSL certificate – SSL encrypts data between your site and visitors, which is essential for security and SEO optimization.
- Backup Service – Your hosting provider should regularly back up your site and make it easy to restore if needed.
My advice is to start with shared hosting from any of these providers. You can upgrade later as you grow.
Step 4: Select Your Domain
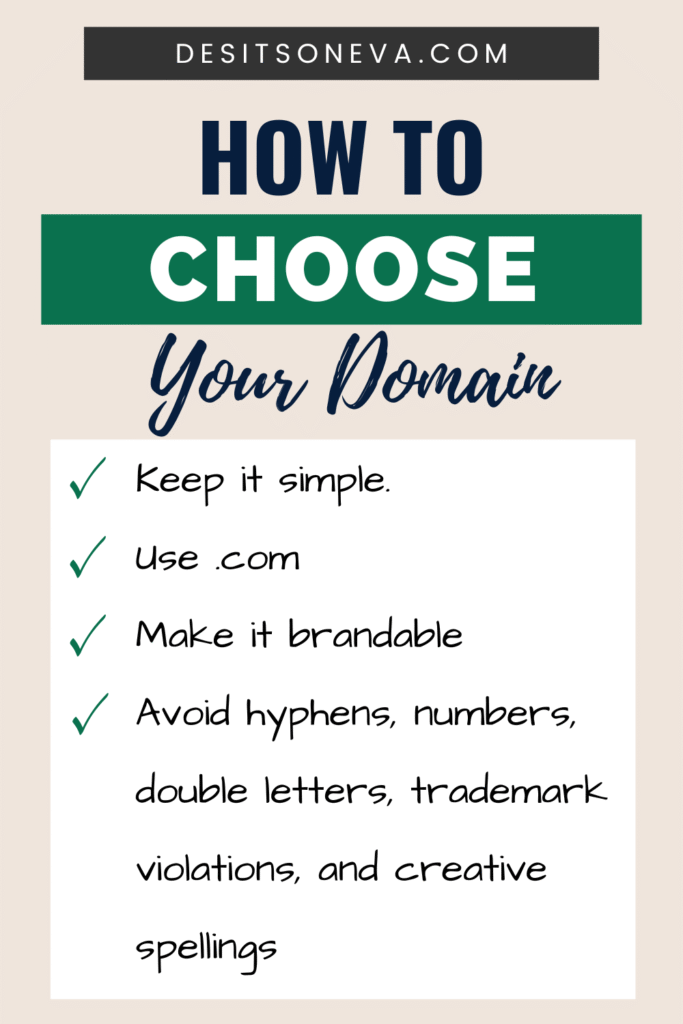
Your domain name is the address of your blog on the internet. Here are some tips that may be helpful when selecting your domain.
Keep it simple
Aim for 6-8 characters, 15 max. Short names are easier to type, remember, and share.
A domain name should be easy to spell and pronounce. If you have to explain how to spell it over the phone, pick something else.
Use .com whenever possible
People automatically assume .com when they hear a domain name.
Make it brandable
“SmartMoneyTips.com” works better than “PersonalFinanceAdviceAndTips.com.” Pick something that could grow with you as your blog evolves.
What to avoid?
Hyphens, numbers, double letters, trademark violations, and creative spellings like “Kool” instead of “cool.”
Domain selection tips
Brainstorm 10-20 options, check availability on Namecheap or GoDaddy, verify that matching social media handles are available, and test pronunciation with friends.
Registration tips
Register for multiple years, consider buying .net/.org versions to protect your brand, enable privacy protection, and use reputable registrars like Namecheap or GoDaddy.
Don’t overthink it—pick something you like that’s easy to remember.
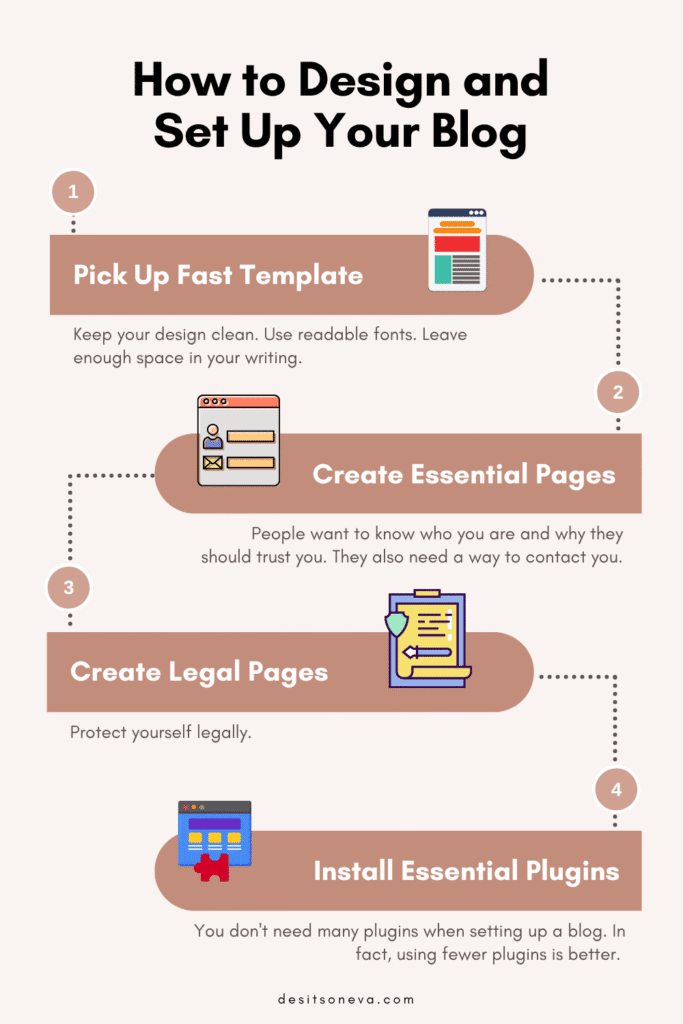
Step 5: Design and Set Up Your Blog
Your blog doesn’t have to look like a magazine. It should be straightforward, user-friendly, and load quickly.
Pick a Simple Template
Choose something that loads quickly on phones—that’s where most people will find you.
Look for themes with built-in SEO basics features, but don’t get overwhelmed by endless customization options. You can always adjust things later as you grow.
My recommendation is to use Kadence or Astra Themes. Personally, I use a Kadence child theme, and I am very happy with it – it’s beautiful, easy to customize, and loads quickly.
Here are some design tips that enhance user experience and SEO.
- Keep your design clean.
- Use readable fonts.
- Leave enough space in your writing—no more than 2 sentences per paragraph.
- Make sure there is a clear contrast between your text and background.
- Add simple social sharing buttons, but avoid overdoing it.
Create Essential & Legal Pages
About page
People want to know who you are and why they should trust you. Tell your story, share your qualifications, and explain what readers can expect from your blog.
Contact Page
It facilitates communication with readers and opens up potential business opportunities. You can add a simple contact form, which shows you’re a real person who cares about your audience.
Privacy Policy
This is legally required if you collect any personal data, including email addresses, comments, and analytics data. You can use tools like Termly or Iubenda to generate a basic privacy policy which will cover all the essentials.
Disclaimer
This protects you from liability, especially if you write about health, finance, or legal topics. It clarifies that your content is for informational purposes only.
Step 6: Install Essential WordPress Plugins
You don’t need many plugins when setting up a blog. In fact, using fewer plugins is better. Here’s a list of all the essential WordPress plugins you’ll need to start.
SEO
| Plugin | Free Features | Beginner-Friendly | Best For |
|---|---|---|---|
| Rank Math | ⭐⭐⭐⭐ | ⭐⭐⭐⭐⭐ | Most bloggers |
| Yoast SEO | ⭐⭐ | ⭐⭐⭐ | Large sites, paid users |
| All in One SEO | ⭐⭐ | ⭐⭐⭐ | Simple sites, paid users |
My advice is to start with RankMath (which I am currently using) – it offers the most features in its free version.
Security
Wordfence (free version) – Protects your blog from hackers and malware. The free version provides solid protection.
Backup
UpdraftPlus (free version) – Automatically saves copies of your blog content. Think of it like insurance for your hard work.
Contact Form
WPForms Lite – Let readers easily contact you. Simple drag-and-drop setup, no coding needed.
Analytics
Site Kit by Google – Connects directly to Google Analytics and shows data right in your WordPress dashboard.
Caching
| Plugin | Ease of Use | Features (Free) | Best For |
|---|---|---|---|
| WP Rocket | ⭐⭐⭐⭐⭐ | ⭐⭐⭐⭐⭐ (Premium) | Beginners who want speed with no hassle |
| LiteSpeed | ⭐⭐⭐ | ⭐⭐⭐⭐ | Users with LiteSpeed hosting (powerful, free) |
| WP Super Cache | ⭐⭐⭐⭐ | ⭐⭐ | Absolute beginners wanting a free & simple setup |
I am using LiteSpeed as my hosting provider Hostinger uses LiteSpeed servers.
If you can afford the paid version, WP Rocket is the best option.
Spam Protection
Akismet – Filters out junk comments automatically. Comes pre-installed with WordPress and is free for personal blogs.
Step 7: Create a Content Strategy

I’ve learned that good content doesn’t happen by accident. My advice is to develop a solid content strategy. It makes everything easier and more consistent.
1. Know Your People (Audience Research)
What keeps them up at night? Look at what similar bloggers are doing well—not to copy, but to see what your shared audience actually cares about.
2. Topic Brainstorming and Planning
The best way to stay consistent is to create a content calendar. You don’t need anything complicated, a simple worksheet will work just fine.
Plan your topics at least a month in advance (3 months is even better). This way you’ll never run out of ideas what to write about.
3. Content Outlining
Outline your content with clear headings before you begin writing. Hook your readers immediately in your first paragraph.
Include calls-to-action throughout you blog post. Make them helpful rather than pushy.
4. Writing and Optimization
The title of your blog post should grab attention and clearly communicate what your post is about.
Optimize for SEO by including your target keywords naturally throughout your post.
Keep your paragraphs short. Use bold text and bullet points to make your content easier to read.
Most people don’t read every word online — they just scan. Help them quickly find what they need.
5. Visual Enhancement
Include relevant images to make your content more engaging. Images help break up large blocks of text and make your points easier to understand.
Add clear and descriptive alt text to every image. This helps make your content easier to access for everyone and can also improve your SEO.
6. Editing and Review
Always proofread your posts before publishing. Read them out loud to catch awkward phrasing and errors you might miss when reading silently.
Check that all your links work properly. Broken links create a poor user experience and can hurt your SEO.
Review your SEO optimization. Are your headings correctly structured? Did you include meta descriptions? Are your images optimized?
7. Publishing and Promotion
Plan your posts for the times when your audience is most active. Use your analytics to find out when your readers are online.
Promote your new posts on your social media platforms, but try not to share the exact same message everywhere.
Reply to comments and feedback promptly. Connecting with your readers is just as important as writing good content.
Step 8: Promote Your Blog and Build Audience

Creating great content is only half the battle. You also need to help people find it.
But promotion doesn’t have to feel pushy or overwhelming — it’s simply about connecting your content with people who would find it helpful.
Social Media Promotion
Share your content on platforms where your audience actually spends time. Don’t feel obligated to be everywhere—it’s better to do well on one or two platforms than poorly on five.
Create platform-specific content instead of sharing the same posts across all platforms. What works on Instagram might not work on LinkedIn.
Use hashtags related to your topic and participate in community conversations—this helps new people discover your content naturally.
Work with other bloggers to help each other out—share each other’s posts or create something together.
Email Marketing
Email marketing is more effective than most other methods for reaching people.
Your email list is the only audience you truly own—social media platforms can change their rules, but your email list remains yours.
Create valuable freebies like guides, checklists, or mini-courses to give people a reason to sign up.
Use pop-ups when someone is about to leave your site and offer special content just for subscribers.
Send regular emails with your latest posts, but don’t just sell—include helpful tips, personal updates, and useful resources.
Segment your subscribers based on their interests and always include a CTA (call-to-action), clearly telling them what you want them to do next.
Step 9: Track Your Blog’s Performance
You can’t improve what you don’t measure. Set up simple tracking. This will help you understand what’s working so you can do more of it.
What to Track
Use Google Analytics (it’s free) to see how many people visit your blog, which posts are most popular, and where your readers come from.
Don’t get overwhelmed by all the data. First, focus on the basics: how many visitors and which content perform best.
Check your social media stats on each platform to see what content your audience likes.
Your email platform will show you which emails people open and click on most.
What the Numbers Mean
Pay attention to the number of different people visiting your blog and how long they stay.
Check comments, shares, and email sign-ups — these show that people truly care about your content.
Track specific actions you want readers to take, like signing up for your newsletter or clicking your links.
How to Improve
Look for patterns in your best posts and create more content similar to them. If your beginner blogging guide posts do well, make more guides.
Update old posts with better headlines or fresh information. Link related posts together to help readers find more of your content.
Step 10: Make Money From Your Blog

Once you’ve built an audience, you’ve several ways to generate income. The key is choosing methods that feel right for you and help your readers.
Ways to Make Money
Ads
Start with ads through Google AdSense or Journey by Mediavine (the better option)—you earn money when people click on ads.
It’s not much money at first (maybe $1-10 per 1,000 visitors), but it’s easy to set up. As your blog grows, you can join better ad networks that pay more.
Affiliate Marketing
Try affiliate marketing by recommending products you actually use and love. Only promote things you genuinely believe in.
You earn a percentage when someone buys through your link. Write honest reviews and show people how to use the products.
Digital Products
Create your own digital products – online courses, guides, planners, ebooks, templates… This usually makes the most money because you keep all the profits.
Services
You can also offer services, like coaching or consulting, based on your expertise.
When to Start Making Money
Don’t rush into making money right away. Here’s a realistic plan on how to do it.
First 3 months:
Concentrate only on producing high-quality content and growing your audience. Starting too soon can damage your credibility.
Months 3-6:
Start recommending products you use. Begin building your email list seriously.
Months 6-12:
Add ads if you have enough visitors. Think about creating your first product based on what your readers need.
After year 1:
Think about offering services or finding other ways to earn from your work. By now, you probably have a pretty good sense of what your audience really wants, so focus on creating things that will actually help them.
Step 11: Keep Your Blog Running Smoothly
Taking care of your blog ensures it runs smoothly and offers a positive experience for your readers. Here’s what you should do and when.
Every Week
Reply to comments quickly—engaged readers are more likely to come back and share your content.
Share your recent posts on social media and engage with your followers in conversation.
Look for broken links and fix them.
Every Month
Update your software, themes, and plugins to maintain security.
Update old posts with fresh information or better headlines.
Check how your blog is doing in search results.
Every Few Months
Make sure your site loads fast and works well on mobile.
Check your legal pages and update them if necessary.
Review your earnings and see if you need to tweak your strategy.
Plan your content for the next few months based on what’s working and what’s not.
Keep Your Blog Safe
Set up daily backups using plugins like UpdraftPlus. Store copies in different places, like Dropbox or Google Drive. Test your backups from time to time to make sure they’re actually working.
Use security plugins like Wordfence to help catch any potential problems.
Always use strong passwords and turn on two-factor authentication whenever you can.
Make Your Blog Fast
Compress your images before uploading them (try TinyPNG).
Use caching plugins to speed things up for returning visitors.
Don’t use too many plugins—clean out the ones you don’t need.
Consider faster hosting if your site feels slow.
Make Your Blog Accessible
Add descriptions to images so screen readers can understand them.
Use proper headings (H1, H2, H3) to organize your content.
Check that your text and background colors have enough contrast so everything’s easy to read.
Tools like WAVE can help you find and fix accessibility issues.
SEO Basics for Beginners

SEO doesn’t have to be complicated. If you focus on these SEO basics, you’ll be ahead of most bloggers learning how to start blogging.
Here are some SEO tips to help you.
Keyword Research
Use tools like Keywords Everywhere, Google Keyword Planner, Ubersuggest, or Answer The Public to find what people are searching for in your niche.
Look for long-tail keywords (phrases with 3+ words) that have good search volume but aren’t too competitive.
On-Page SEO Optimization
Make sure your target keyword appears in your title tag, meta description, and main heading. Use your keywords naturally throughout your post — don’t force them.
Add internal links to connect related posts. This helps readers find more of your content and makes it easier for search engines to see how your posts are linked.
Give your images clear, descriptive filenames and add helpful alt text. For example, instead of something like IMG_1234.jpg, use chocolate-chip-cookies-recipe.jpg.
Content Quality
Focus on creating detailed, in-depth content that really covers your topic. Google tends to prefer longer posts — but only if they’re actually useful.
Keep your older posts up to date so they stay accurate and relevant. This can improve your search rankings and keep offering value to your readers over time.
Work on building quality backlinks by contributing guest posts to blogs in your niche or creating content that people will naturally want to share and link to.
Blogging Tips for Introverts
If you are an introvert, blogging might actually be perfect for you.
Why Blogging Feels Right for Quiet People
You get to work alone—no office chatter, no meetings, no small talk. Just you, your thoughts, and your keyboard.
You can write instead of talking. If you’re like me, you probably express yourself better in writing anyway.
You control your schedule completely. You can work at 5 AM if that’s when your brain is sharpest. You can take breaks when you need them.
You build real connections through your words. The relationships you create with readers can be deeper than surface-level networking.
How to Make Blogging Work for You
Create at your own pace
Take your time with posts. Some of the best writing comes from sitting with an idea for a while.
Write in small chunks when you have energy—you don’t need to finish a whole post in one sitting.
Handle social media your way
Use tools like Tailwind or Buffer to schedule your posts in advance.
Focus on quality over quantity—it’s better to have real conversations with a few readers than shallow exchanges with many.
Network without the networking events
Consider guest posting instead of attending events.
You can build relationships with other bloggers through email. Join online communities where you can connect through writing.
If You’re Dealing with Burnout
Find your natural posting rhythm and stick to it. If weekly works better than daily, do weekly. Consistency matters more than frequency.
Create content calendars to reduce decision fatigue. Batch similar tasks together—write several posts in one session, then edit them later.
Take actual time off. Your blog will survive if you take a weekend or a week off. Your mental health is more important than your posting schedule.
Writing can actually help you process your thoughts and feelings. When you share your struggles and wins, you often discover you’re not alone.
Keep It Simple
Set realistic publishing schedules based on your actual energy levels.
Repurpose your content across different formats—turn a blog post into social media posts or email newsletter content.
Consider getting help with tasks that drain you, like social media management or technical stuff.
Remember: your blog is important, but it shouldn’t come at the expense of your well-being.
Final Thoughts
Starting a blog as an introvert or someone dealing with burnout doesn’t have to feel overwhelming.
This step-by-step guide gives you a simple, clear path to building a blog that’s sustainable, successful, and fits your energy and personal goals.
Start small, take it slow, and remember — every successful blogger began with just one post.
You can do this.